In this Tutorial you will install DNS on your server, but you need to make make a lot of your own configurations, so I am just going to show you the files you need to edit as well as the commands to run DNS once you are finshed.
| Explanation |
Screenshot |
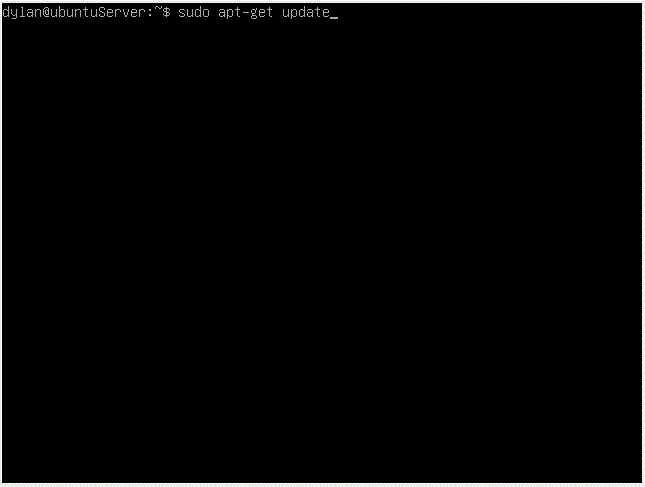
| First let's update Ubuntu using, sudo apt-get update |
 |
| Next we are going to install DNS by using the command: sudo apt-get install isc-dhcp-server |
 |
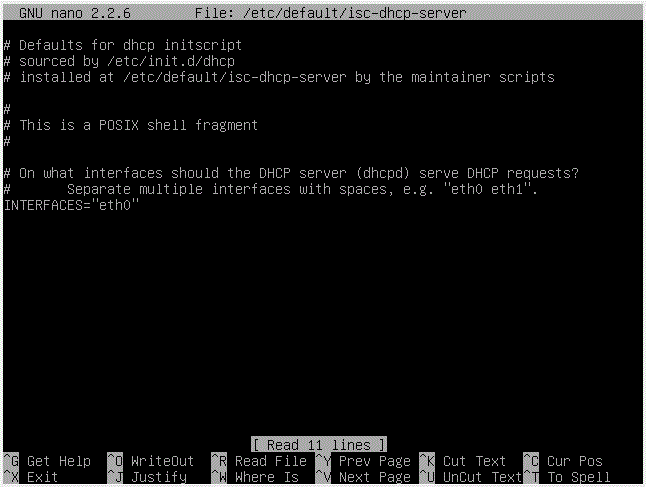
| The first file we need to change is the isc-dhcp-server file. First copy it using, sudo cp /etc/degault/isc-dhcp-server ~/isc-dhcp-server.bak, which will make a copy of the file and place it in your
home directory. You don't have to put it in your home, but that is where I prefer to put it. Next open the file using the text editor of your choice using: sudo nano /etc/default/isc-dhcp-server |
 |
| In this file you tell the DNS server where to listen for request. In my case it is eth0, but it may be different in your case, just so you are aware of that. |
 |
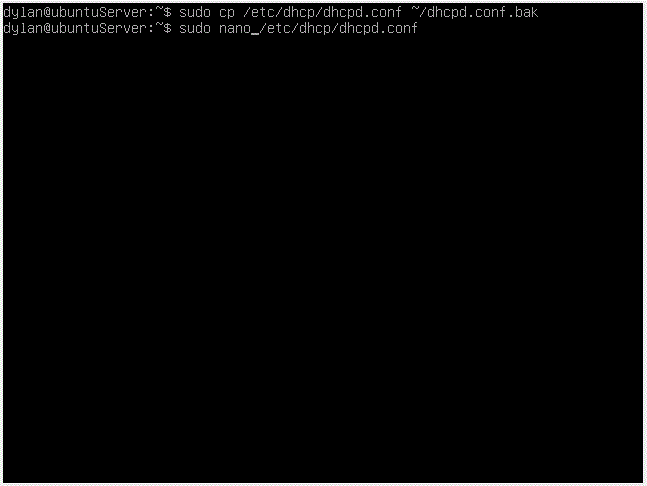
| Next we are going to edit the configuration file. To do that, first copy the file, sudo cp /etc/dhcp/dhcpd.conf ~/dhcpd.conf.bak, then open it in the editor of your choice to edit the file.
sudo nano /etc/dhcp/dhcpd.conf |
 |
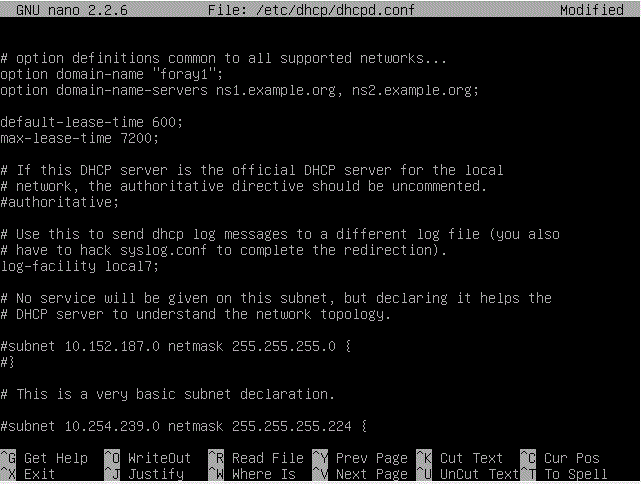
| This is the file you really need to tailor to your needs. Each line explains what the code below it does, so read it and adjust accordingly. Make sure you uncomment what you need, so the server will run. Save and exit the file when you are done. |
 |
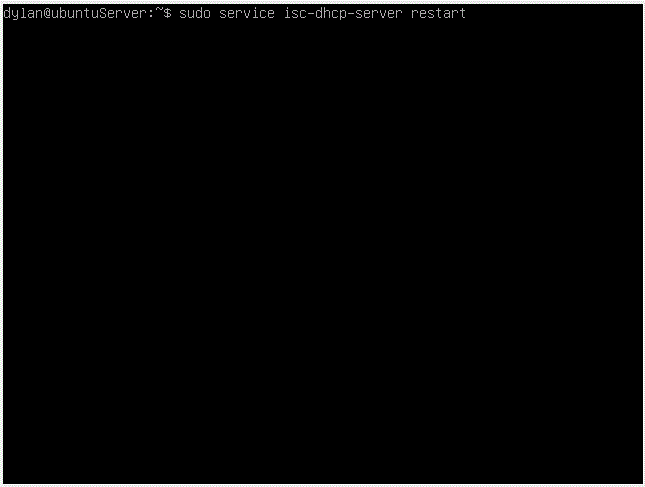
| After you have completed the two files, restart the DNS server by using the command: sudo service isc-dhcp-server restart If all checks out and you have no errors, your server is working correctly. If not, check the configuration file
that is where most of the mistakes happen. |
 |
