In this Tutorial I am only going to show the configuration screens. This will serve to stream line the tutorial and help keep from confusing the user.
| Explanation |
Screenshot |
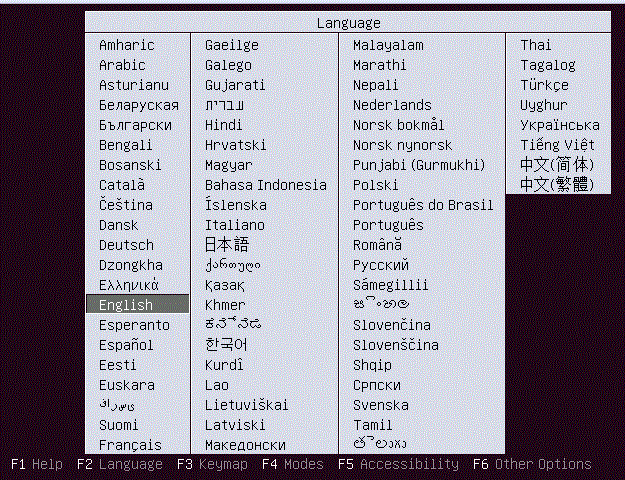
| First select boot from disk on your machine and when the boot screen for Ubuntu loads
and select the language you would like to view the setup page in. |
 |
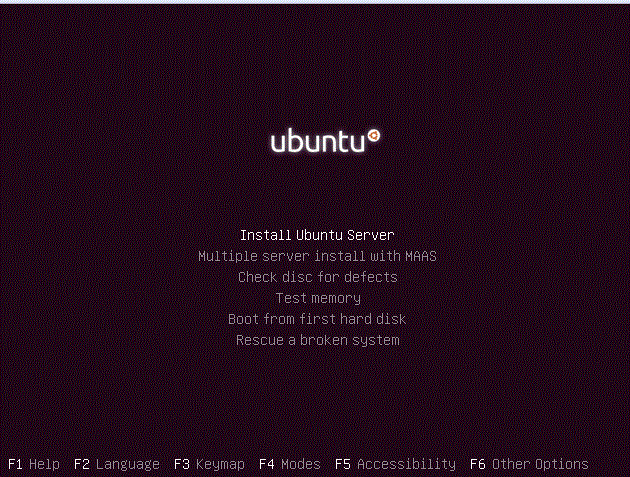
| Next choose the "Install Ubuntu Server" by pressing enter. You may also install multiple servers,
check the disk (makes sure the files are good), Test Memory (checks the RAM on the computer), Boot from
hard disk (exits the setup), or Rescue a broken system (a lot like using windows repair disk). |
 |
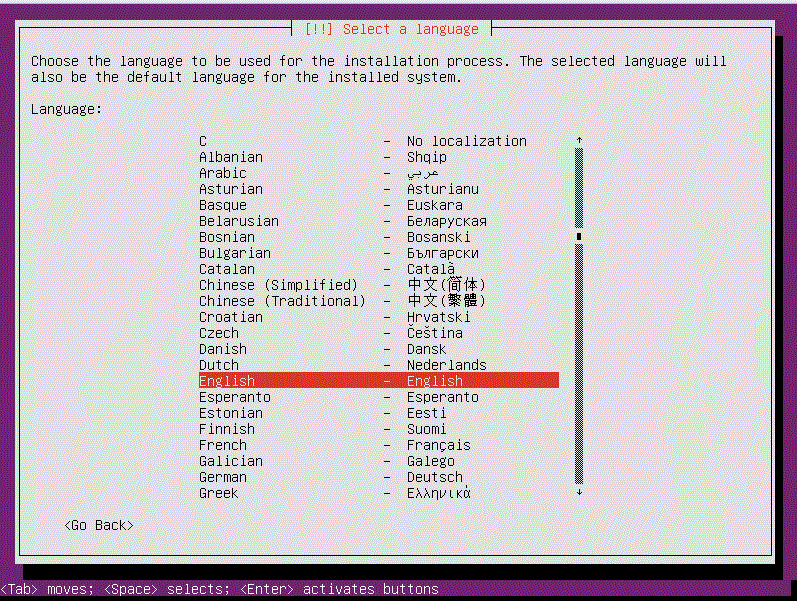
| After selecting the type of install you want, now select the language you would like the system to present
information in, by using the arrow keys to navigate and enter to select what you want.
A little redundant, but you get the language you want. |
 |
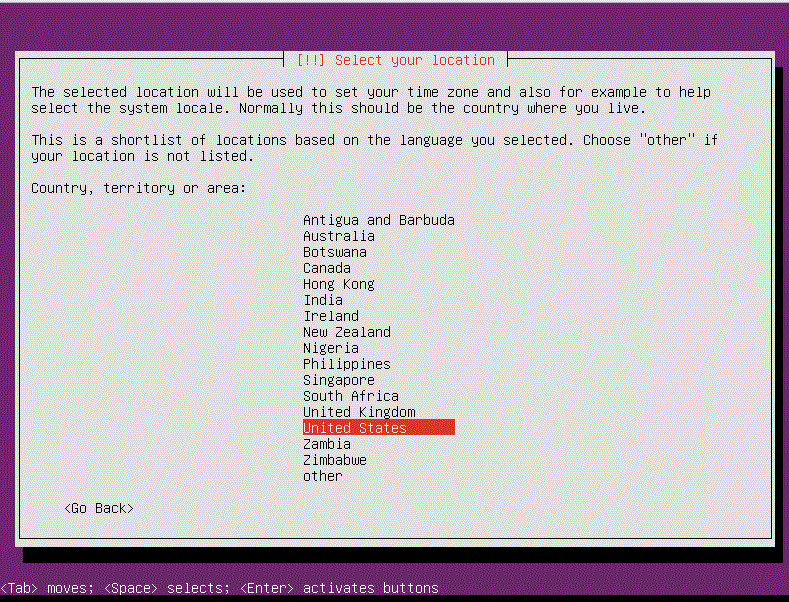
| Now choose your location by using the arrow keys to navigate to the proper country and pressing enter to select
the country you want. This server just happens to be in the US. |
 |
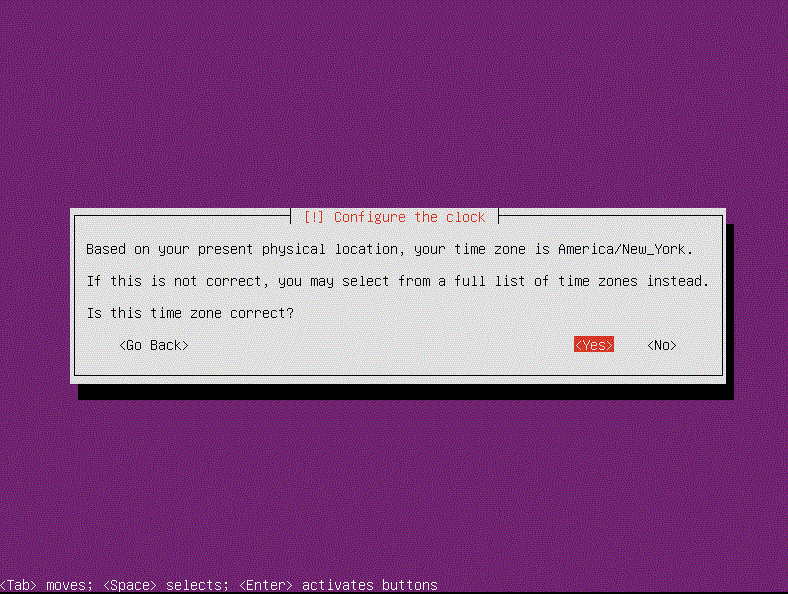
| Ubuntu will verify your time zone. |
 |
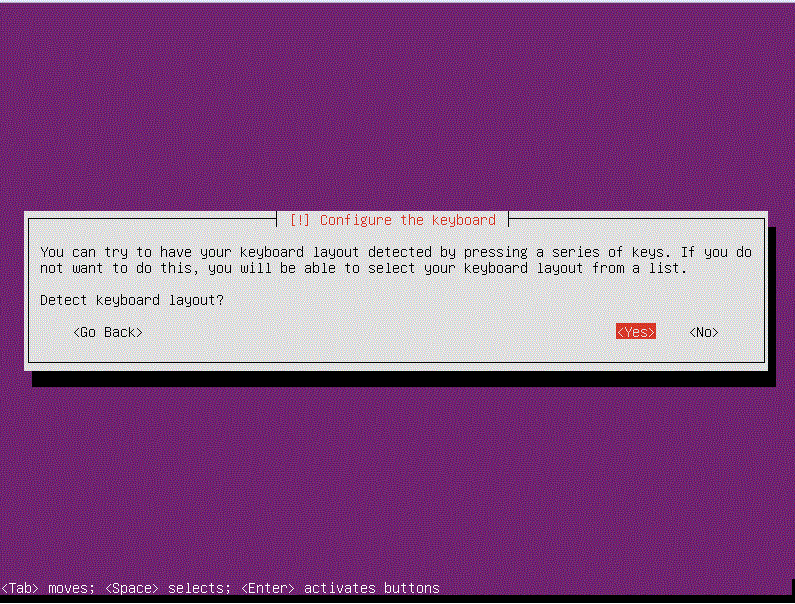
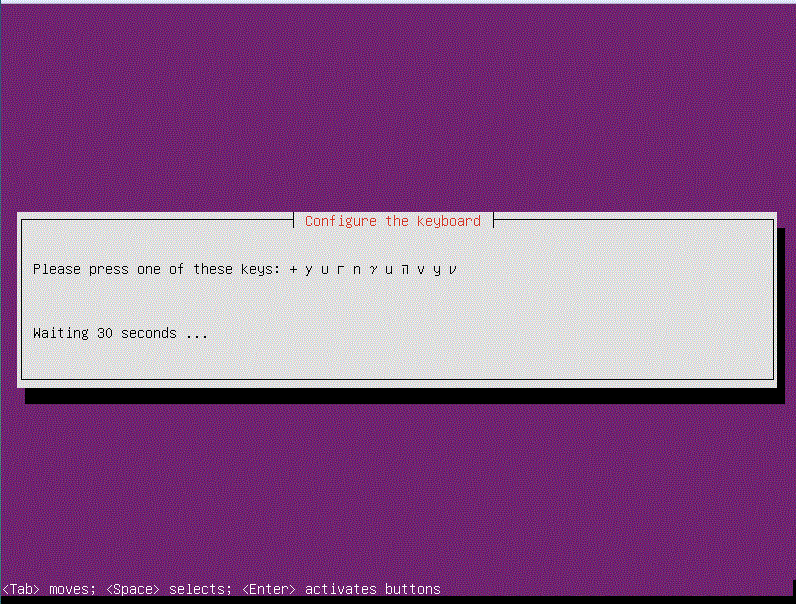
| Next the installation will ask you if you want to detect the keyboard lay out or wait until later. I personally select yes and just get it over
with than to select it later. It is up to you, though. |
|
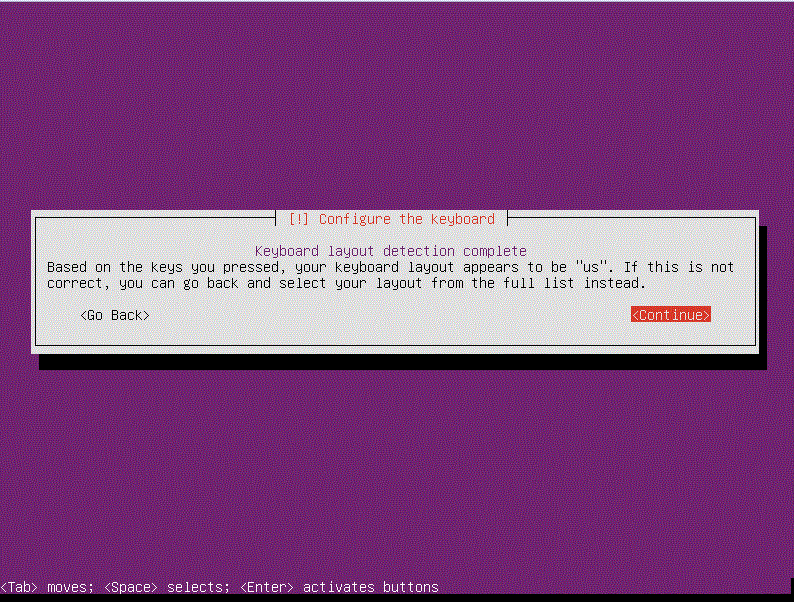
| After you run through the quick keyboard selection it will come back and will ask if the keyboard layout is correct. |
 |
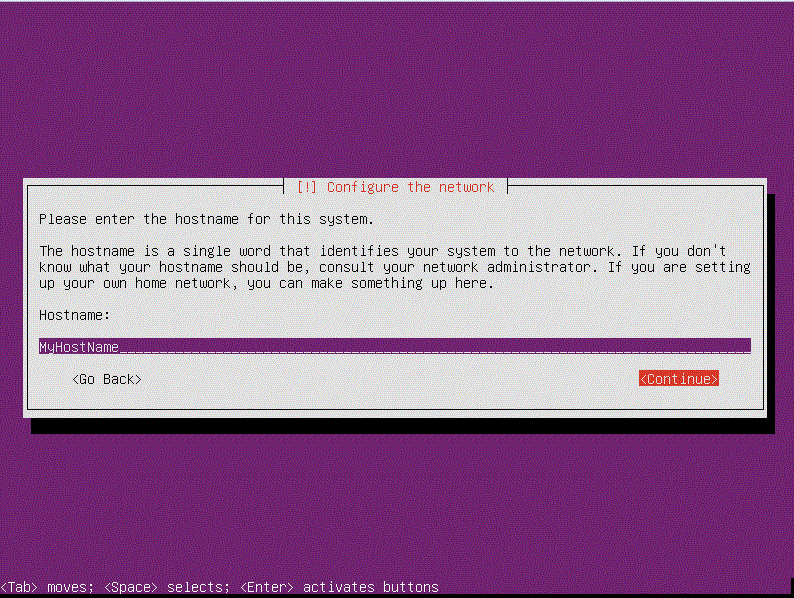
| Next you come to a screen that will ask you what you want your Host Name to be, which will also be your server's name.
**Although you can give your server any name you want, I suggest you name the server the same as your website. |
 |
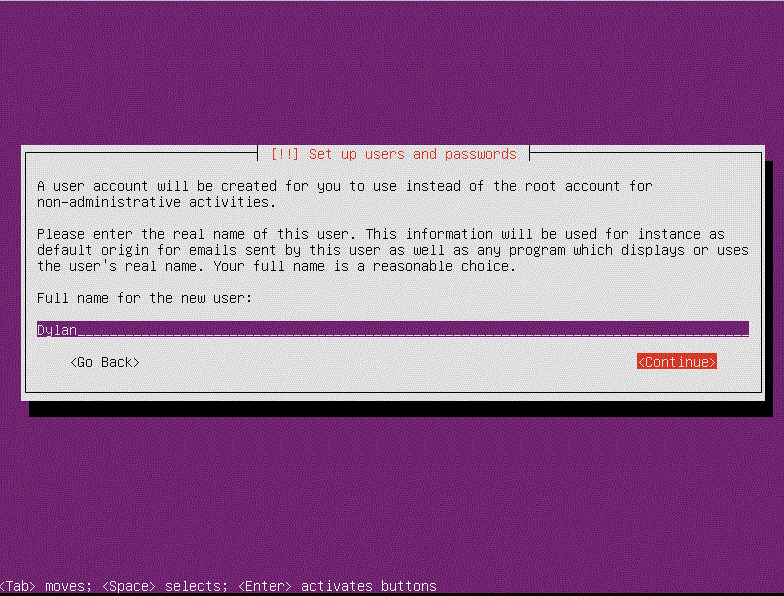
| Next you will be asked to enter the user name you wish to have on the computer. Again, you may enter any username you want. |
 |
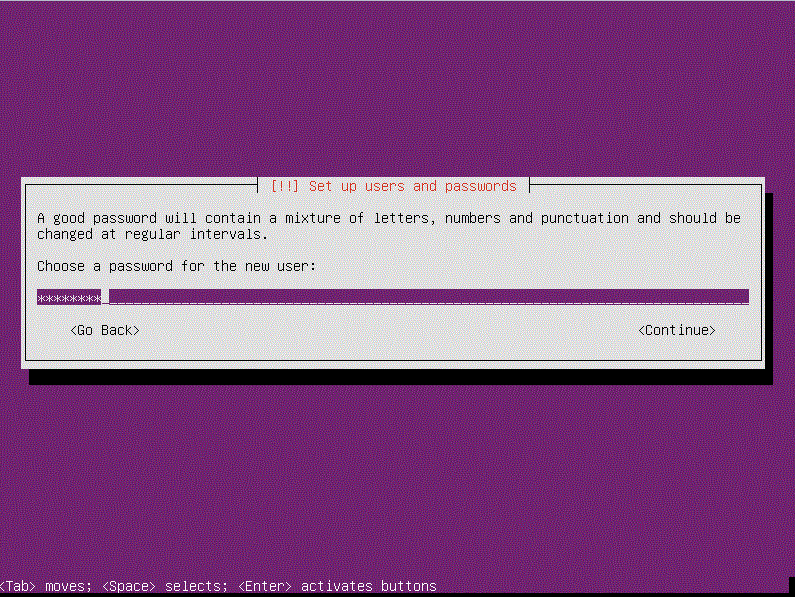
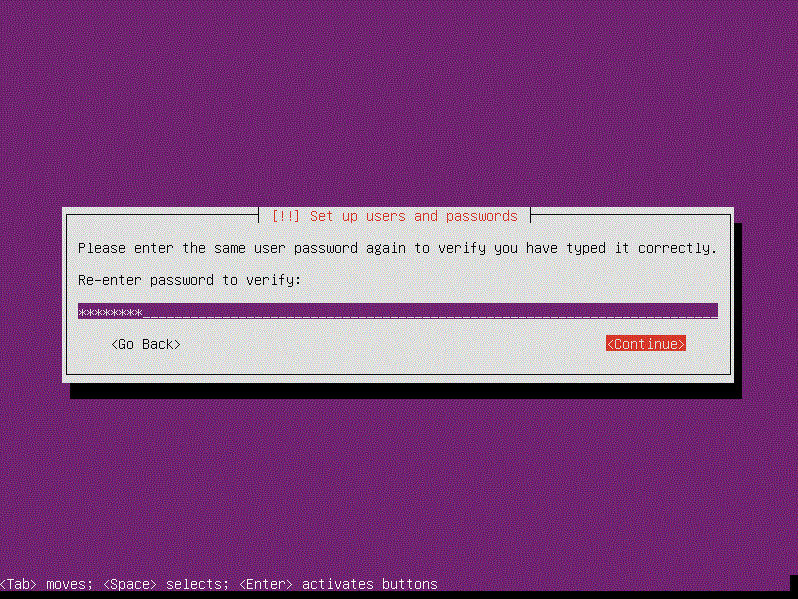
| Now enter the password you wish to use. DO NOT forget this password. Not only will you need it when you log on to the computer,
but also for when you use the sudo command. |
 |
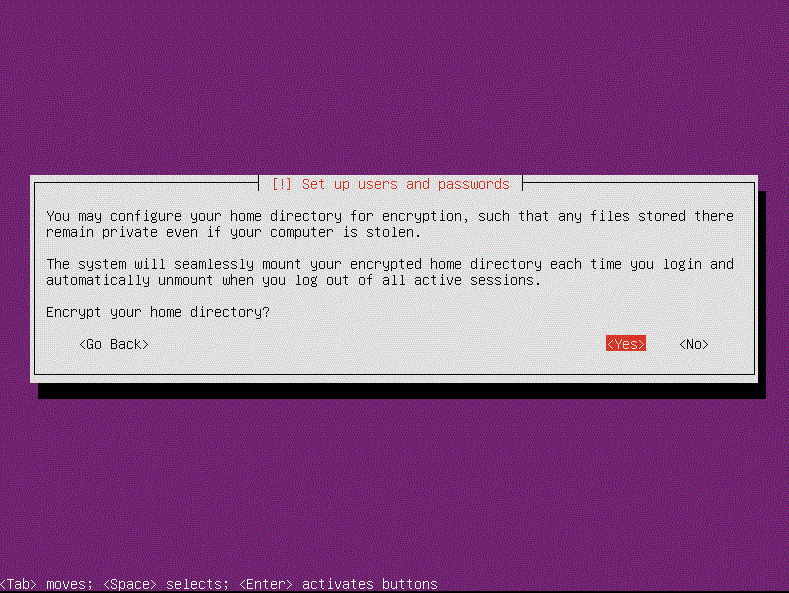
| Select whether or not you want your home directory encrypted. Again this is your choice, but I prefer to have it encrypted. |
 |
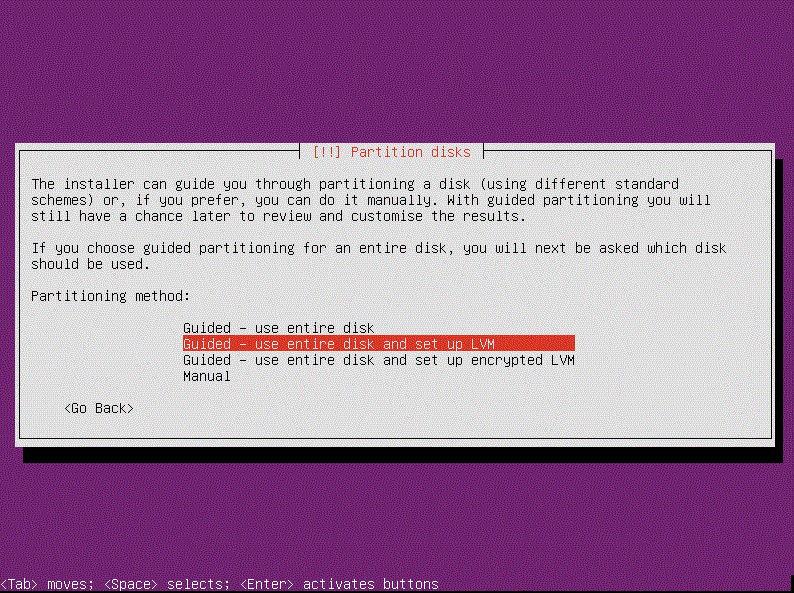
| Ubuntu will now ask you how you want to write the information to the the hard drive. You can select Guided - use entire disk
or Gudided - use entire disk and set up LVM. I prefer setting up LVM. |
 |
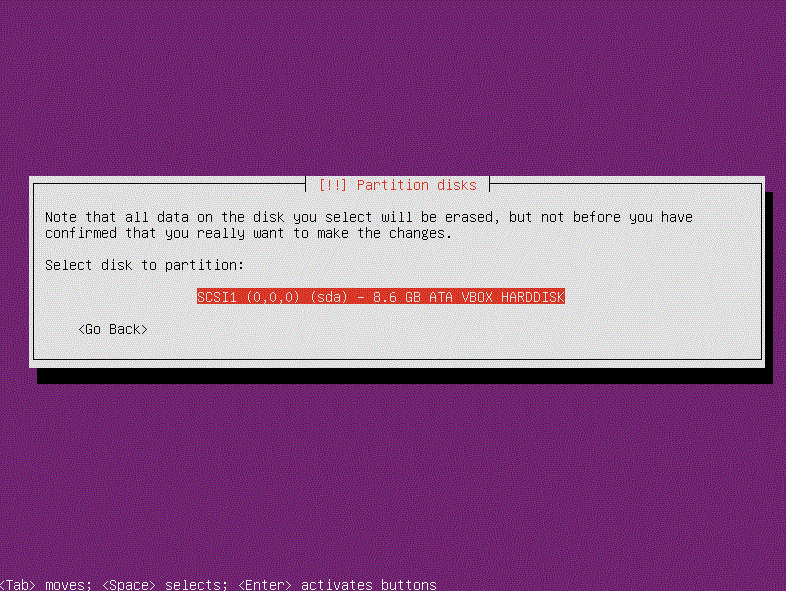
| Next you select the hard drive you want to install to. Some times the disk drive will show up as well. If you select the disk drive it will
give you an error and force you to start the installation over. If you have multiple hard drives then you need to choose the drive you would like
to install it to. In my case, I only have one option. |
 |
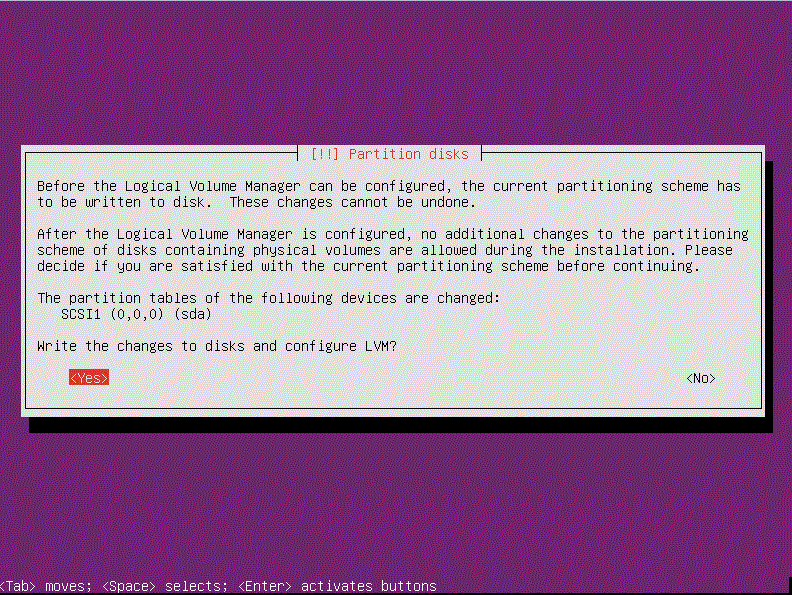
| Ubunut will confirm that you want to write the changes to the disk. |
 |
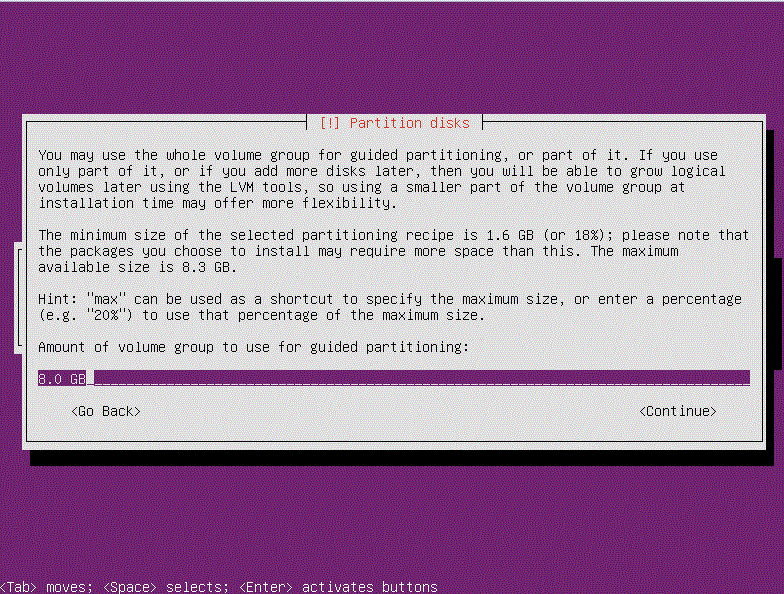
| Next ubuntu will ask you how large you want the partition to be for the server. If you plan on only having this server on this machine then
leave the number at its default (this is the maximum size the partition can be), otherwise you need to decide how big the partition needs to be. |
 |
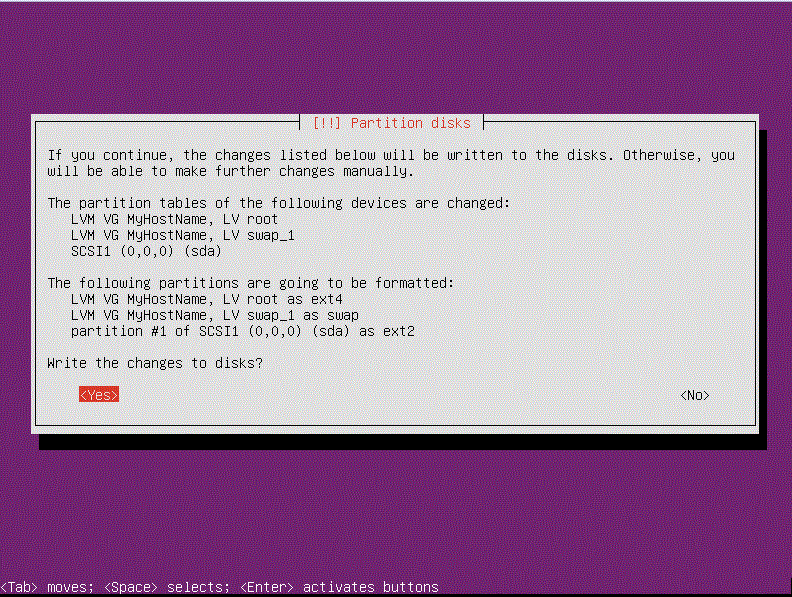
| Again Ubuntu will make sure you want to write the changes to the disk. |
 |
| Ubuntu will ask you to enter the HTTP proxy, if you don't have one, DON'T ENTER ONE. Just press enter to continue. |
 |
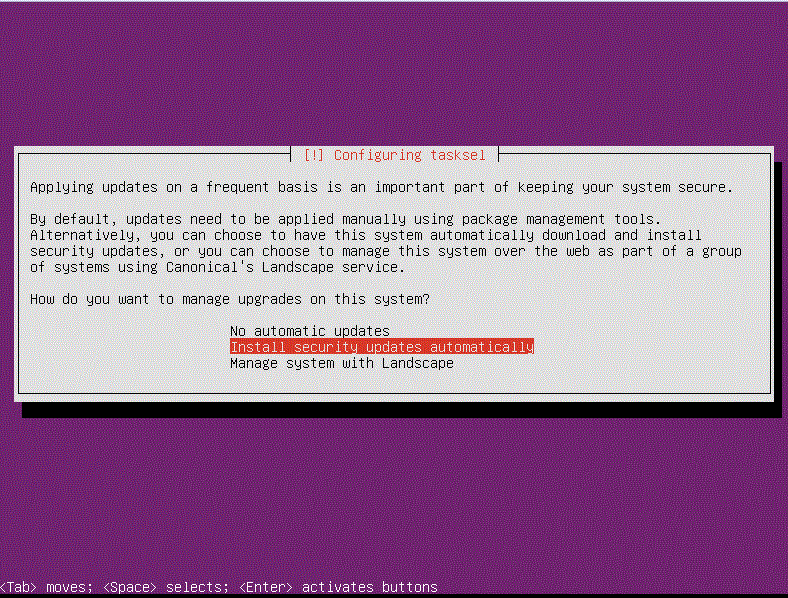
| Ubuntu will now ask you how you want to handle updates. If you select No Automatic Updates, then you will be required to check for updates
everytime you get on your server. Automatic updates will allow your server to notify you when there are updates available for the system. (info on landscape). |
 |
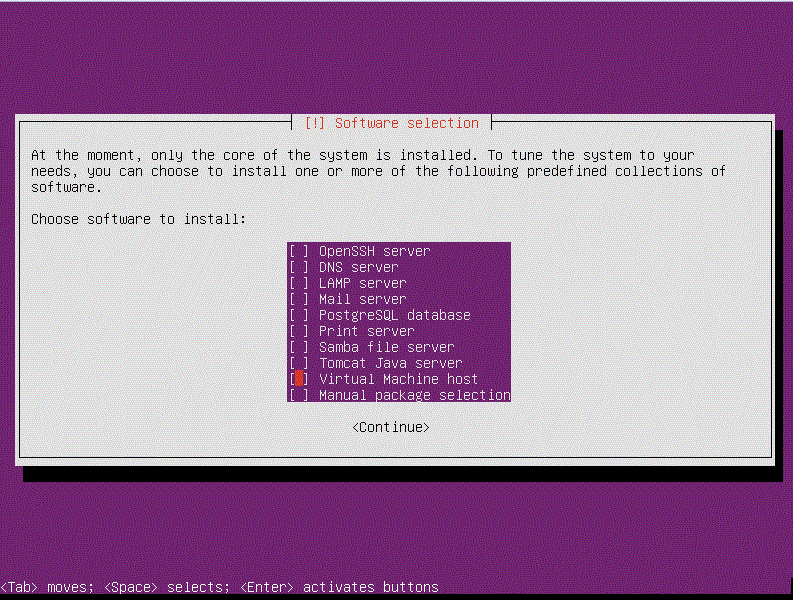
| Next you will need to select what you want to install to your server. Remember that you can add or remove these programs at any time. In this
tutorial I am just going to install a clean server. |
 |
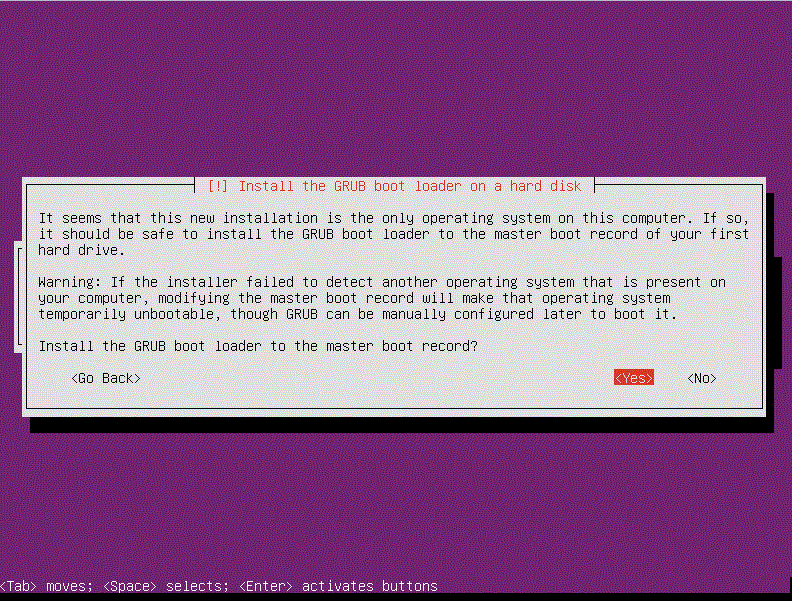
| After downloading some files Ubuntu will ask to install grub on the master boot record. Grub, in short, is what allows Ubuntu to
start up and load the OS. So select yes. |
 |
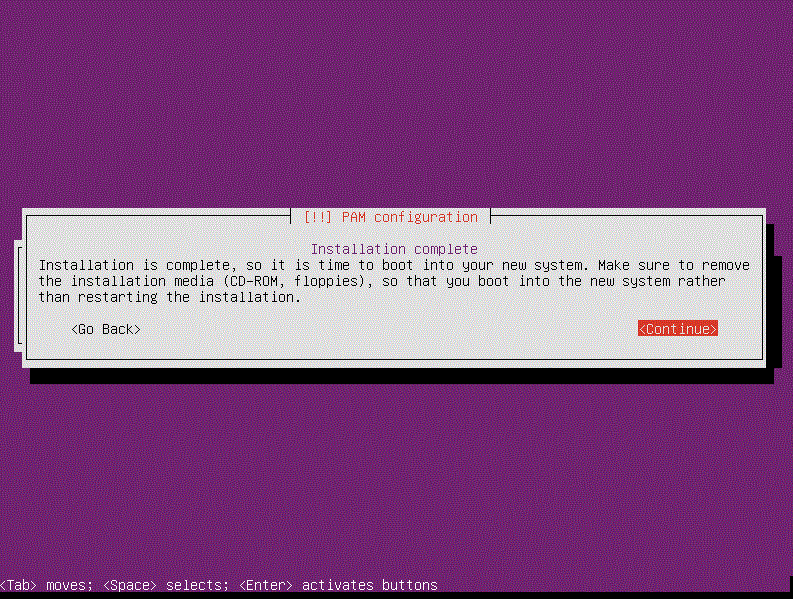
| Quickly after Ubuntu will notify you what the installation is complete and wants a restart. Select continue. |
 |
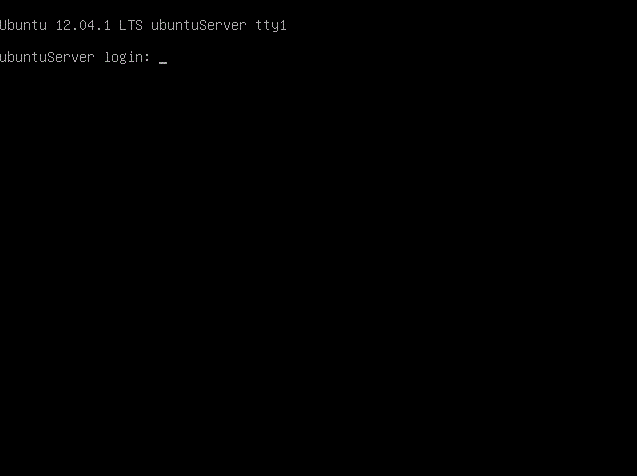
| After Ubuntu starts it will come to the log in screen. Log in an your server is installed, but their is nothing on it. Now we are going to
install apache and mySQL so that we can use the server. |
 |
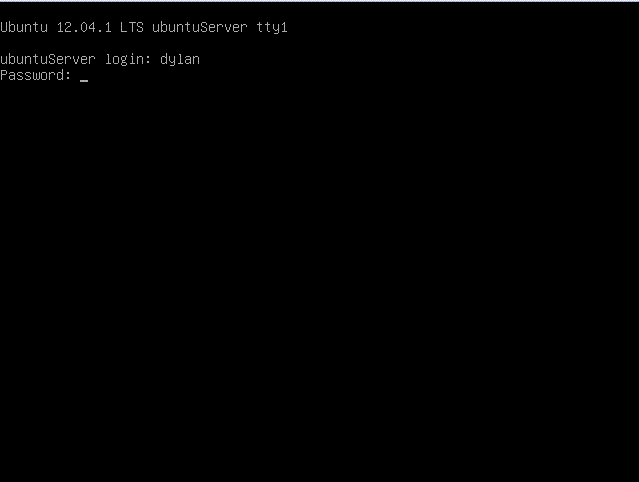
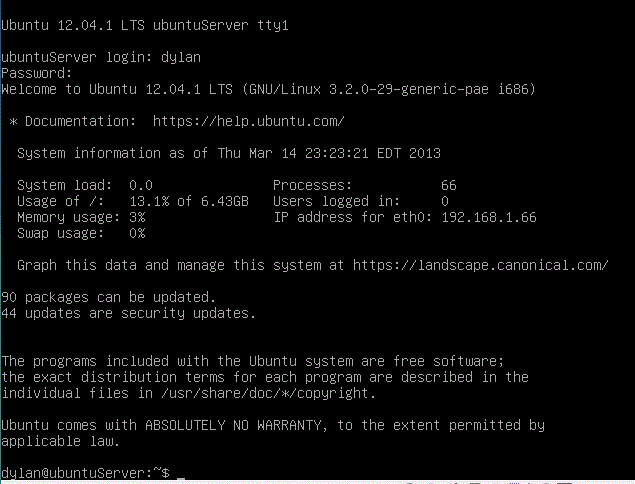
| Now log in using the user name and the password you set up earlier. |
 |
| This screen will aprear once you have logged in. Notice it tells you how many updates there are and how many of those are security updates. This initial screen
will show every time you login and helps give the user a lot of information about the server. |
 |
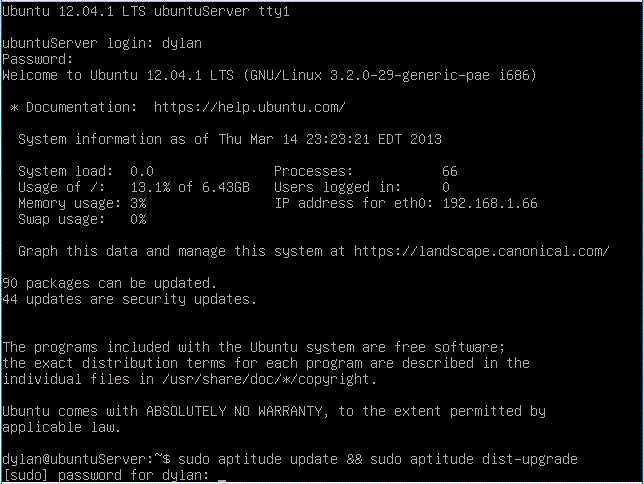
| The next step is to update your server. It is very important to always keep your server up-to-date, this keeps your sever safe from attacks and from unwanted malware. Type in the
command, sudo aptitude update && sudo aptitude dis-upgrade, and press enter. Enter your password and enter "y" when necessary to get the updates. It could take anywhere from
20 mins to a half hour to get all the upates. |
 |
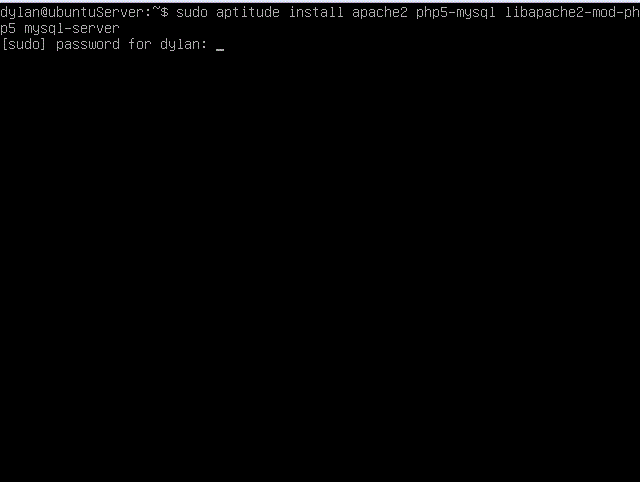
| Now we are going to install PHP, mySQL, and Apache onto our server. Type the command, sudo aptitude install apache2 php5-mysql libapache2-mod-php5 mysql-server, and enter your password.
Enter "y" and press enter where necessary to download the software. |
 |
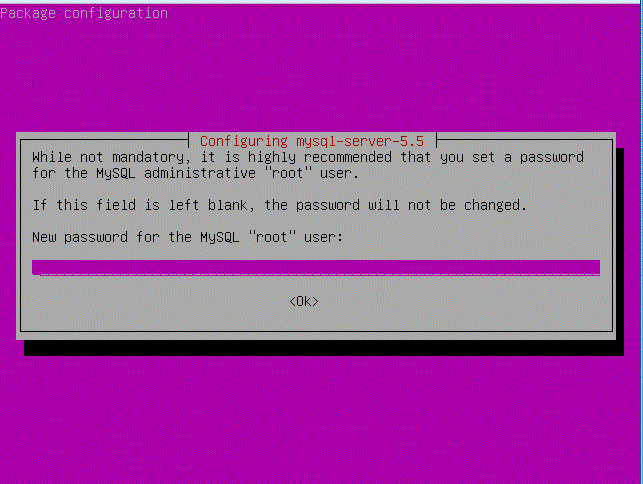
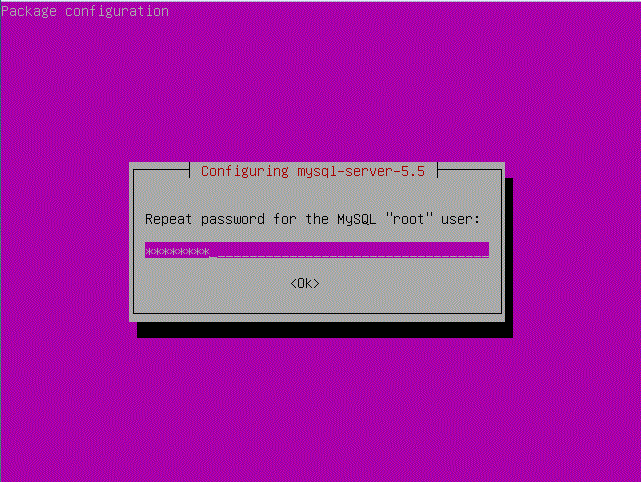
| This screen will appear, requesting a password for mySQL. Enter the password you want, DO NOT LEAVE THIS BLANK, and then re-enter it to confirm it. |
 |
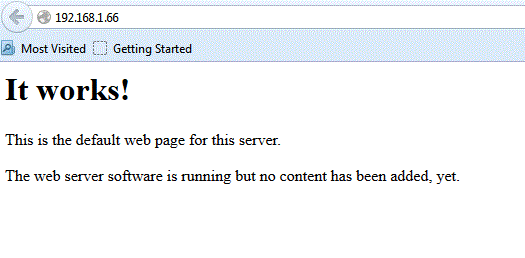
| We should now be able to see the test page that Apache automatically shows once it is loaded on the server. To test the server type ifconfig to find your
ip address. Although this command spits alot of information out at you, look for inet addr: In the case of this server the ip address is 192.168.1.66. Now
type this into a web browser, that is on your internal network, and press enter. The second screen on the right should appear if every thing is setup correctly. |

 |
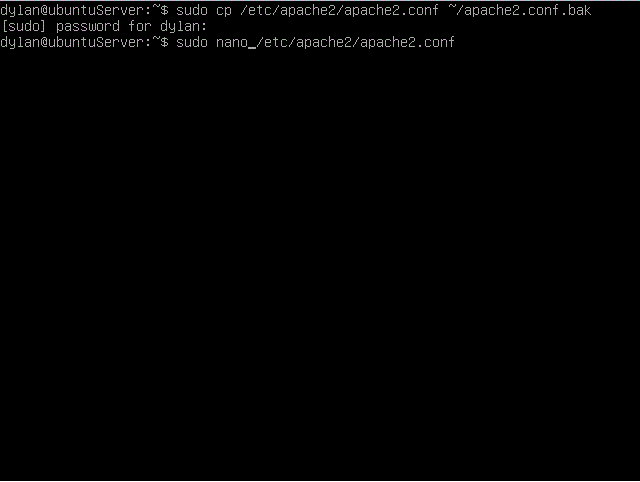
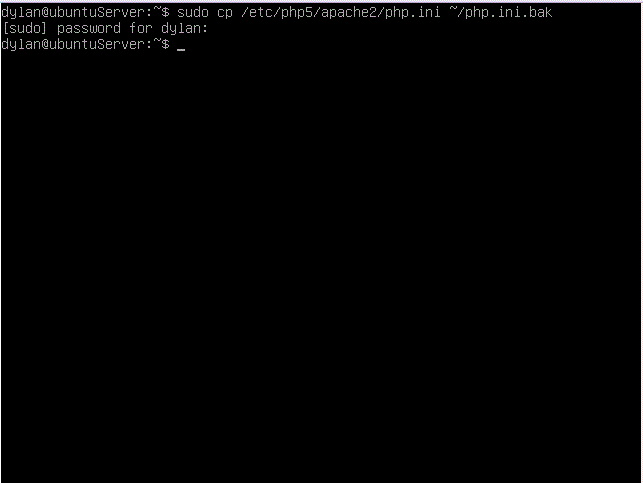
| We are not done yet though, we need to lock down Apache to keep out unwanted access. But first thing is first, and this is a golden rule, if your going to change a config file
MAKE A COPY OF IT and call it nameOffile.conf.bak. You can keep it in the same directory as the orginal file, or you can copy it to your home directory. I
prefer to save it to my home directy. You can copy it by using the cp command as shown on the right. |
 |
| Now open the file using the text editor of your choice. In my case the command looks like this: sudo nano /etc/apache2/apache2.conf |
 |
| Now look though the file and turn ServerTokens to Prod and ServerSignature to Off. This file can
be weird sometimes. Depending on the version of Apache the lines will already be in the file or they will not. If you can't find them already in the file, then just add
them to the end of the file like I did. Then save the file when you are done. |
 |
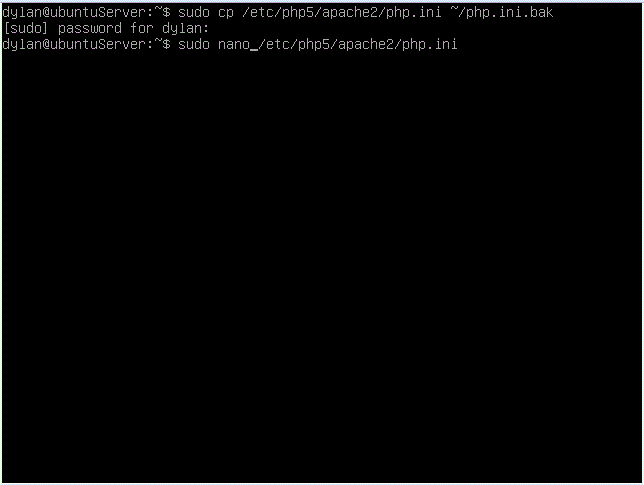
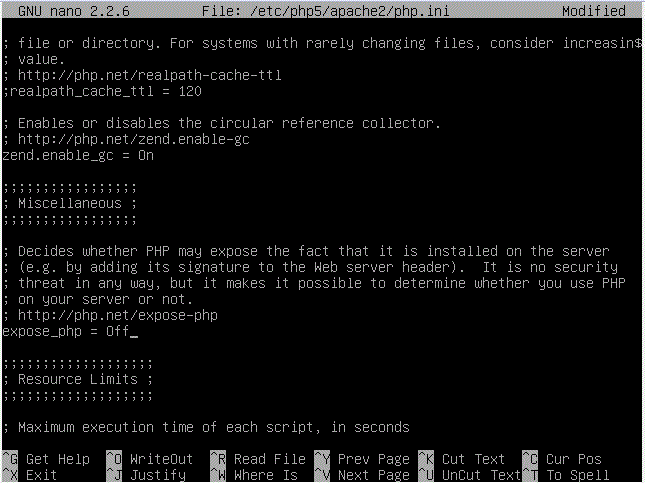
| We are going to do the same thing with the PHP file. First copy the file and open it, using the same method as above, and change expose_php to
Off. Then save the file when you are done. |
 |
| Now we are going to add some security to our new server. First we are going to install Shorewall, a firewall. To download it, type
sudo aptitude install shorewall. |
 |
| Next we need to copy all the configuration files from their current location to the shorewall directory. I had issues doing this just by using the file path, so the best way around it is to navigate to
the directory and copy all the files from there. To do this navigate using the cd command, and go to /usr/share/doc/shorewall. Once there use the following command: sudo cp default-config/*
/etc/shorewall/ This will copy all the files you need to the shorewall directory. |
 |
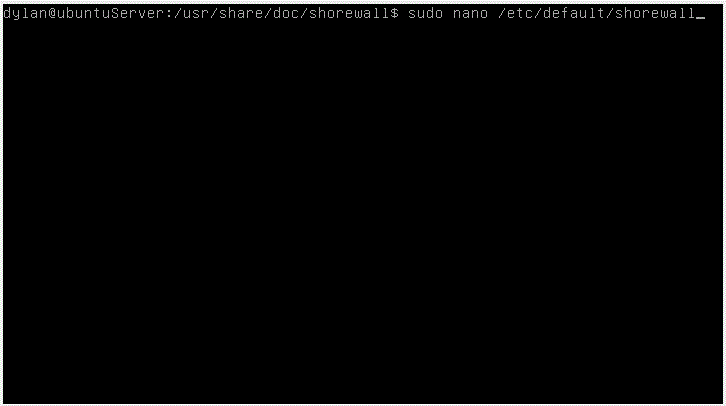
| Next we need to edit the shorewall file. Type, sudo nano /etc/default/shorewall. |
 |
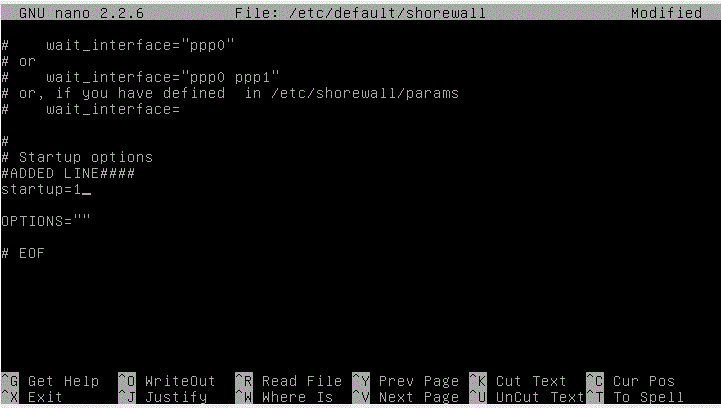
| Add the following line before the # EOF, startup=1 then save and exit the file. |
 |
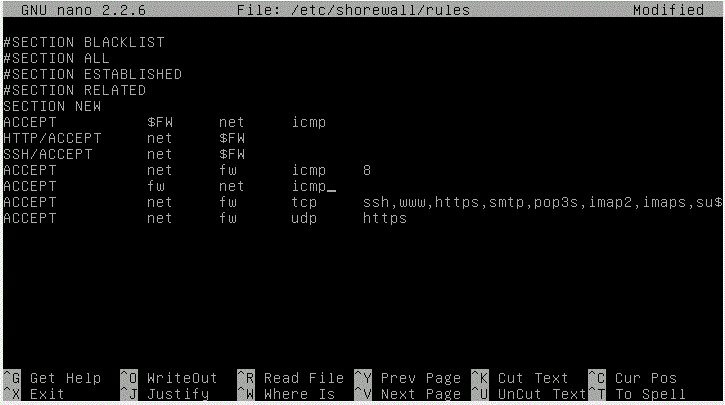
| Now we are going to edit the rules file. Type: sudo nano /etc/shorewall/rules and add every thing pictured right below SECTION NEW. Then save the file and exit. |
 |
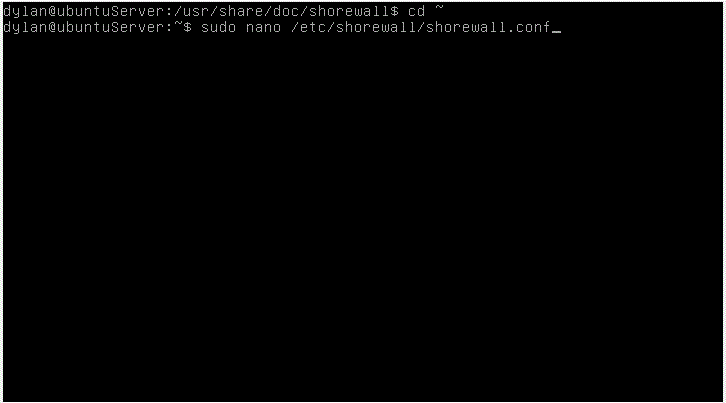
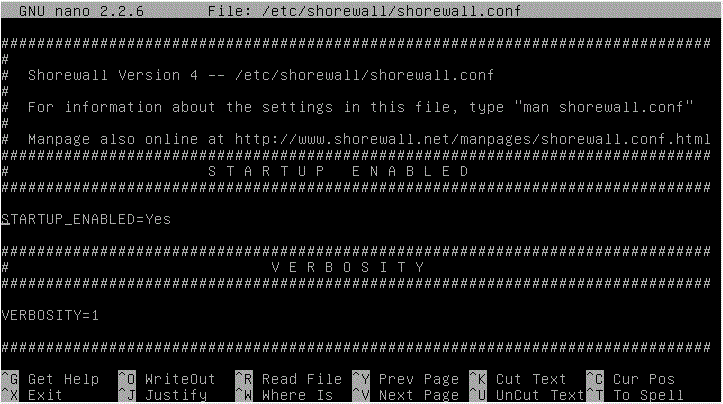
| Next we need to check the shorewall.conf file, type: sudo nano /etc/shorewall/shorewall.conf. |
 |
| The only thing you want to look for in this file, at this point anyway, is to make sure that START_UP_ENABLE=yes. If it does not appear that way then change it to yes. Save and exit the file. |
 |
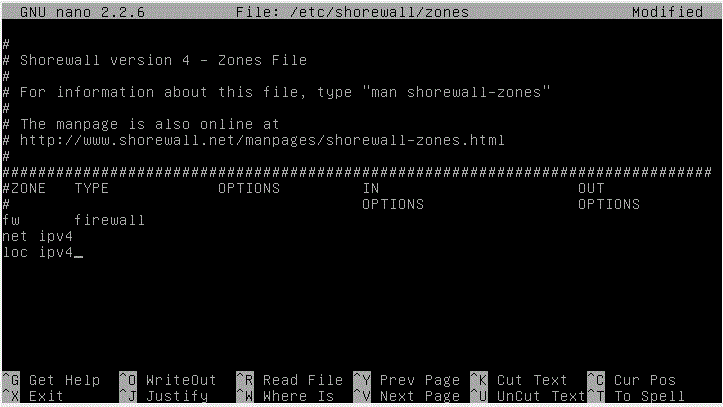
| Now we need to edit the zones, type: sudo nano /etc/shorewall/zones |
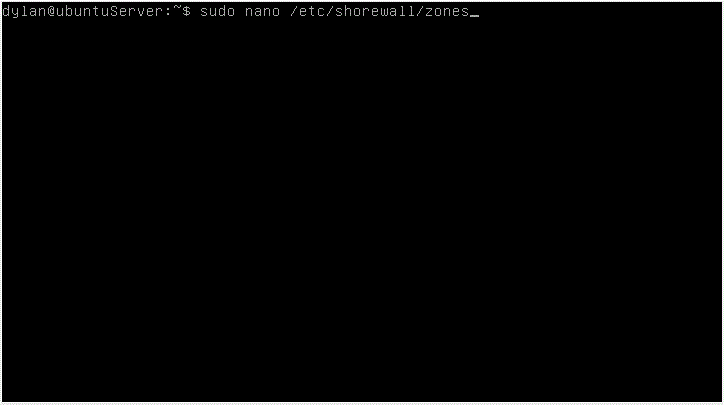 |
| Once you enter the file enter the following lines: net ipv4 and loc ipv4 Save and exit the file once you have done this. |
 |
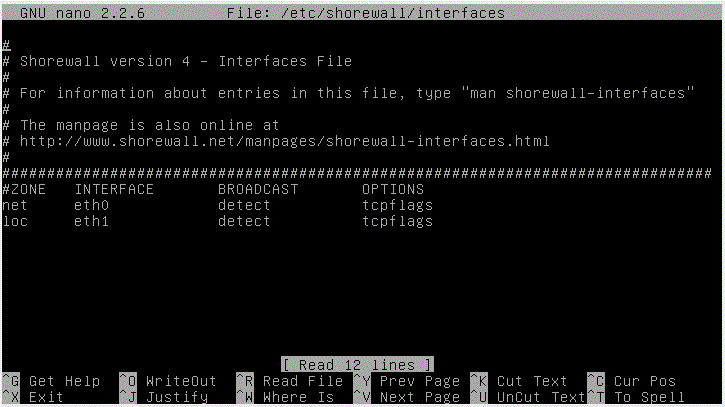
| Now we need to edit the interfaces file, type: sudo nano /etc/shorewall/interfaces |
 |
| Once you are in the interfaces file, add the following lines, pictured right, below ZONE. Save the file and exit when you are done. |
 |
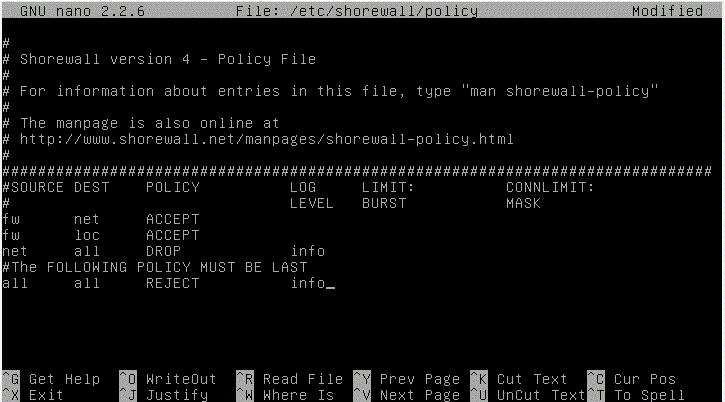
| Next we need to edit the policy file. Enter the file by typing: sudo nano /etc/shorewall/policy |
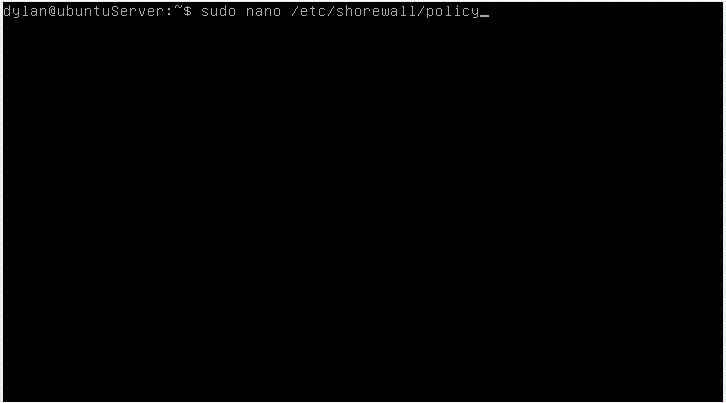 |
| Once inside the file, add all the lines, pictured right, that are below the SOURCE DEST. Save and exit the file when you are done. |
 |
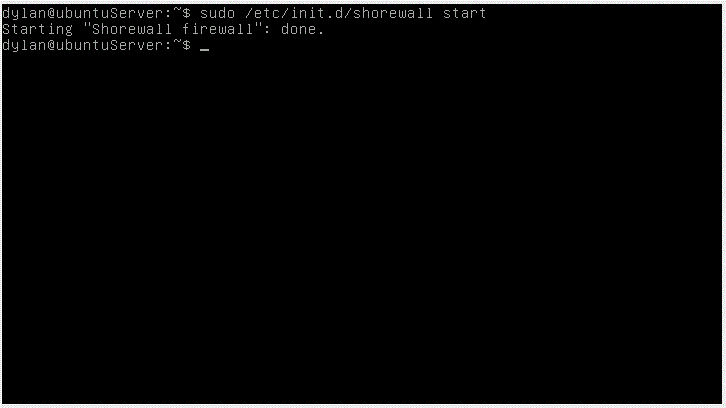
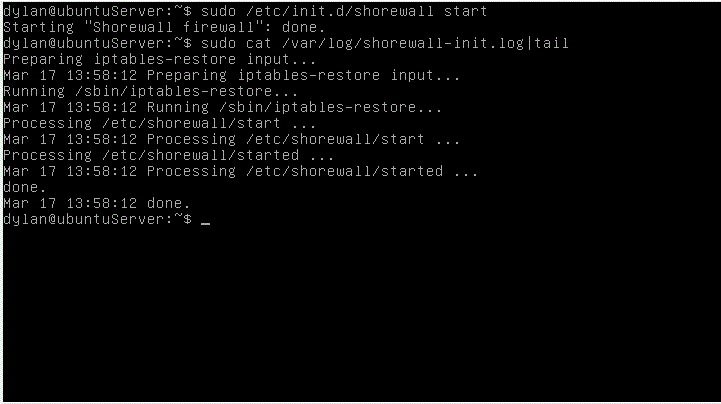
| Now you can finally start the file wall and see if it runs. If all the configurations are correct the screen will look like the screen pictured right. If you don't then you will need to view the log file. |
 |
| In order to view the log file type: sudo cat /var/log/shorewall-init.log|tail I pipe it into tail because if there are any errors they will show up in the last ten lines of the file, so there is
no point in printing out the whole file unless you are looking for something else. |
 |
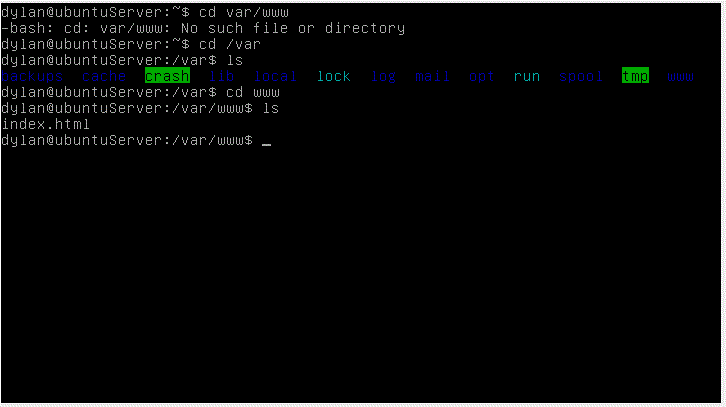
| Congratulations !! Your server is ready for your website. The site pages go in the /var/www directory. Once placed in there you will be able to see your webpage. This allows you to have a excellent testing platform
as well as a dedicated webserver. |
 |
