This tutorial shows you how to install Unix's xfce4 desktop onto your server. Though this desktop version will not allow you to set up printing though it,
it will allow you to mange your file system a little easier. I sugguest turning it off when you are not using it though.
| Explanation |
Screenshot |
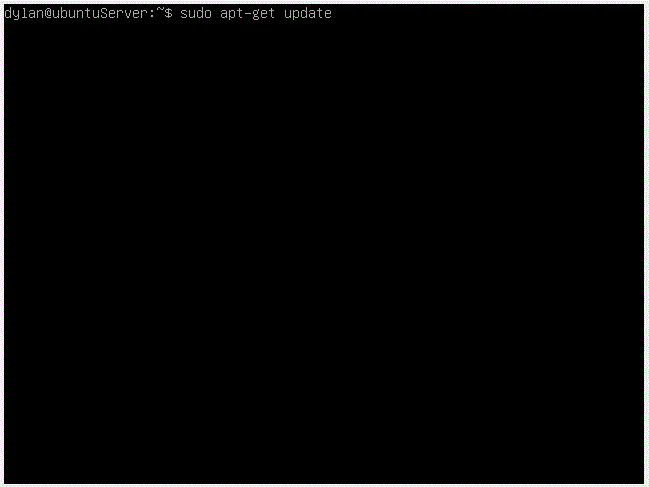
| First update Ubuntu using the command: sudo apt-get update |
 |
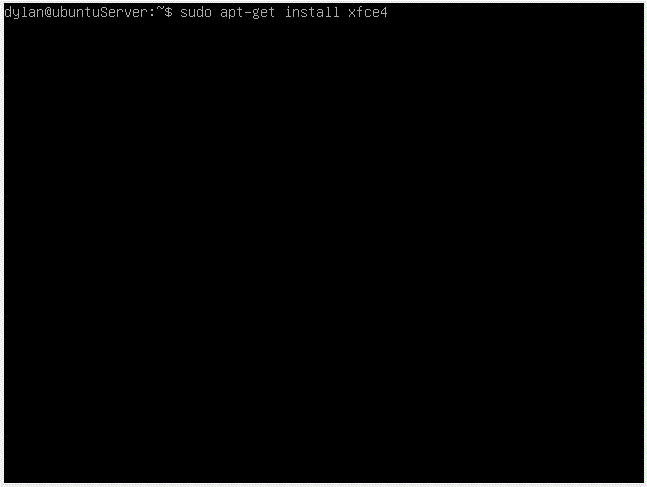
| Next enter the command: sudo apt-get install xfce4 Enter y when nessary. |
 |
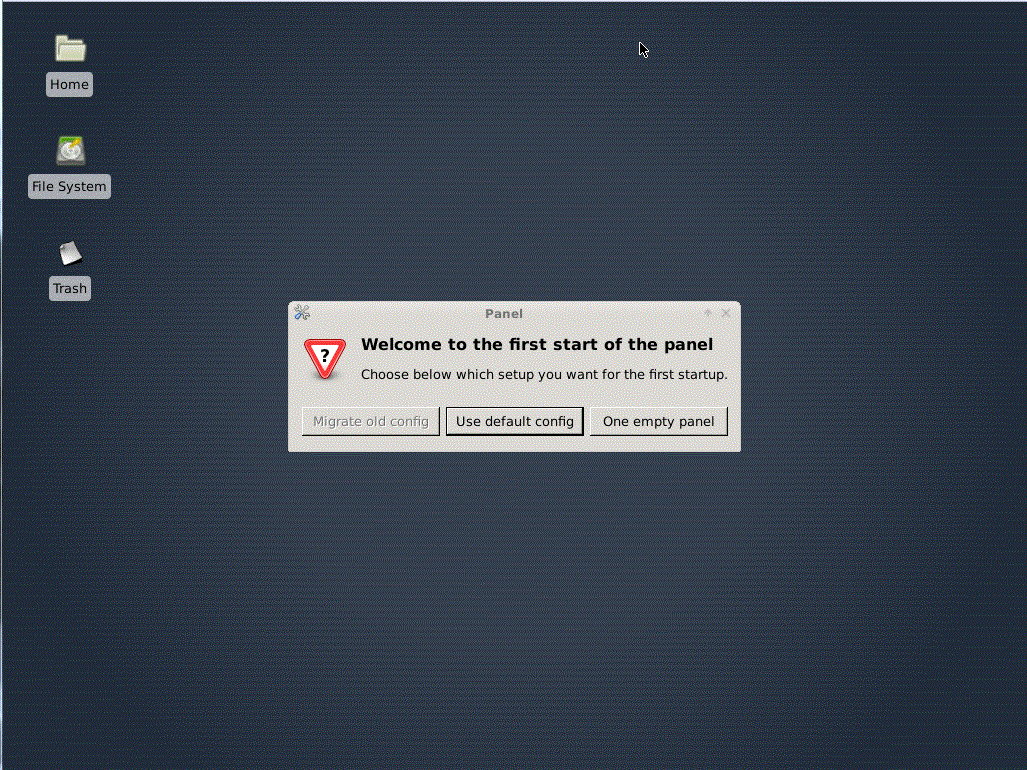
| Now you restart your machine, I prefer to do this to ensure all files are saved. This screen will appear after you enter your password, select
Use default config. |
 |
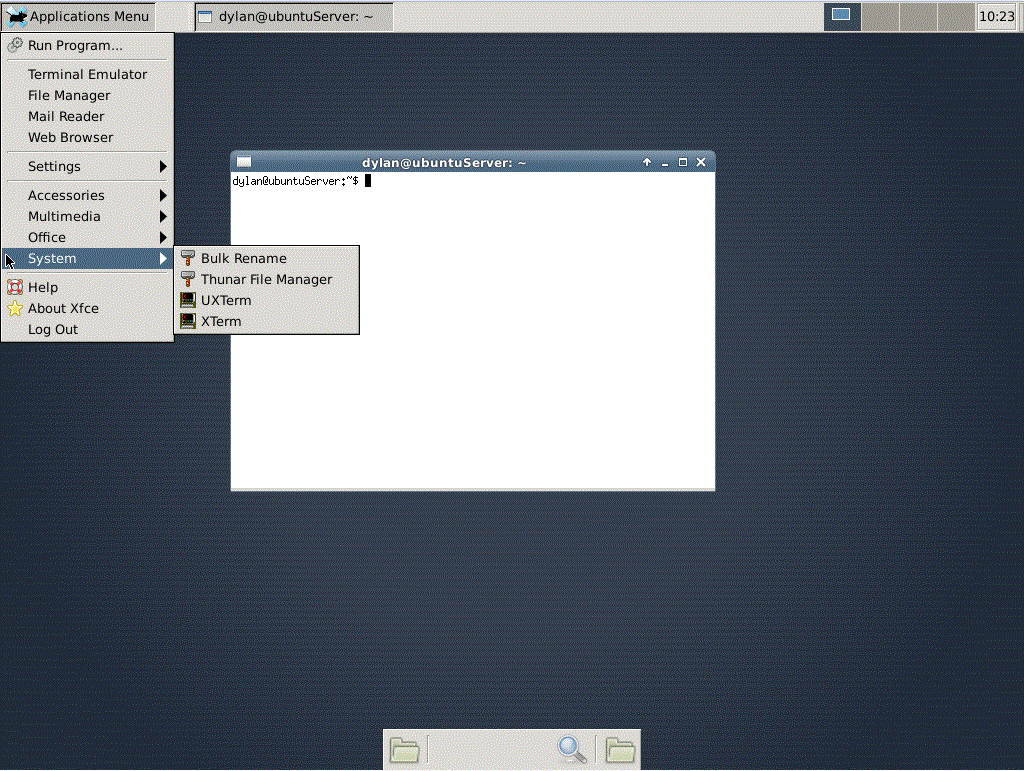
| You can access the terminal appliction by going to, Applications Menu --> System --> Xterm |
 |
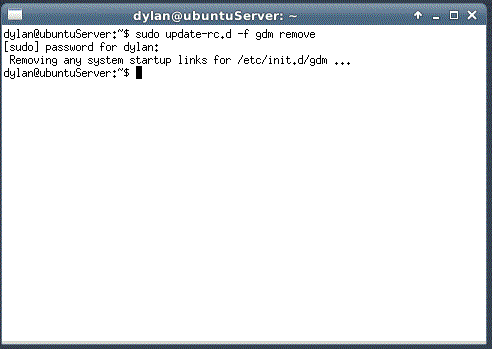
| Once you have the terminal application open you can enter the command: sudo update-rc.d -f gdm remove
This will remove any startup directives that are in the configuration files, and keep the GUI from starting when the server
is started. |
 |
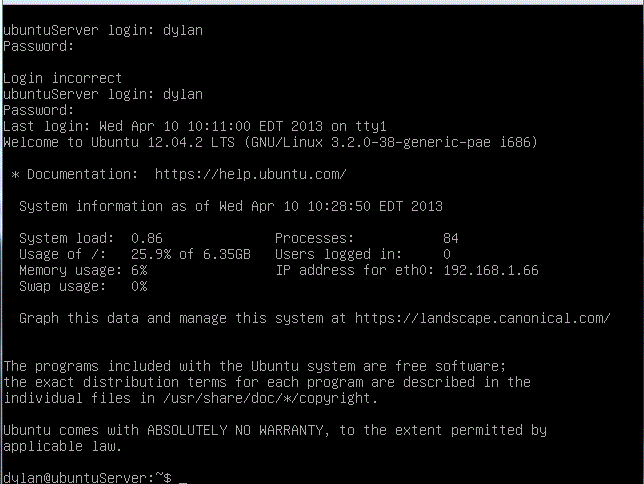
| You can now restart your machine, and you will log into it as normal. |
 |
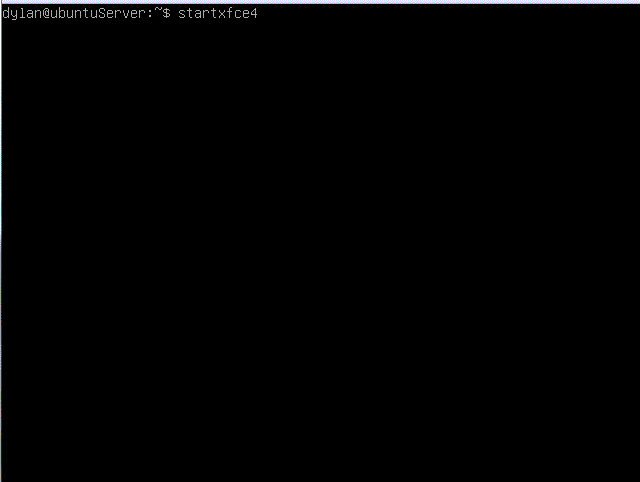
Any time you want to start the GUI, just enter the command: sudo startxfce4
Now you have installed a GUI on your server that you can use to easier
navigate the file system if you so please. Just rember to turn it off once you are done, since all the extra code needed to run the GUI presents a security risk. |
 |
